Dog jaunt: Another piece of Vancouver B.C.’s seawall, then back by bus
I finally fell in love with Vancouver, B.C. in 2011, when Chloe and I came to town on our own for a travel bloggers’ conference. A born introvert, I skipped the beginning of the conference for a ferry ride to Granville Island and a long walk with Chloe along the seawall around False Creek. Three years later, we’re back in town, and our hotel is right across the street from the conference center — and the beginning of the seawall.
Here’s a map of the whole seawall [PDF], a project begun in the early 20th c. to prevent the city’s glorious Stanley Park from eroding (nowadays, the term “seawall” refers generally to that structure, related structures, and the pathways atop them for cyclists and pedestrians). The seawall is a total of 22 km long, and today we walked the first 2.5 km of it.
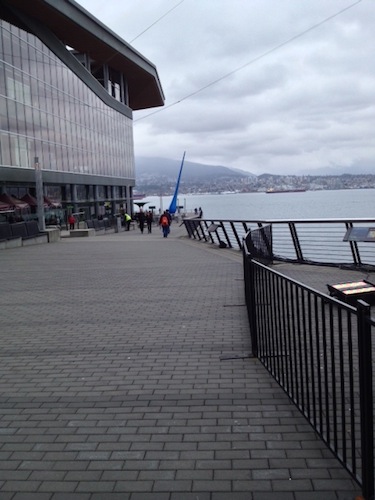
The beginning of the seawall, just below the conference center. The bricks are the pedestrian path; bikers have a separate, smooth path on the left. The blue sculpture in the distance is called “The Drop.”
We headed northwest from The Drop, and followed the waterfront all the way to and into Stanley Park. It was a grey day, but after 16 years in Seattle, grey doesn’t bother me (and I had the memory, too, of yesterday’s clear and bright weather — the views from the seawall across Burrard Inlet to North Vancouver and the mountains beyond were ridiculously lovely).
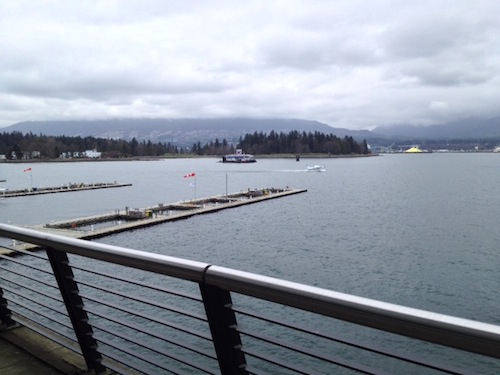
Looking north, with Stanley Park and West Vancouver in the distance — in the near distance, a seaplane is about to take off over Coal Harbor.

The shack on stilts is a cast aluminum sculpture called “LightShed;” to the left of this picture is a good-sized park your (leashed) pup will enjoy. For an off-leash park, keep walking (see below).
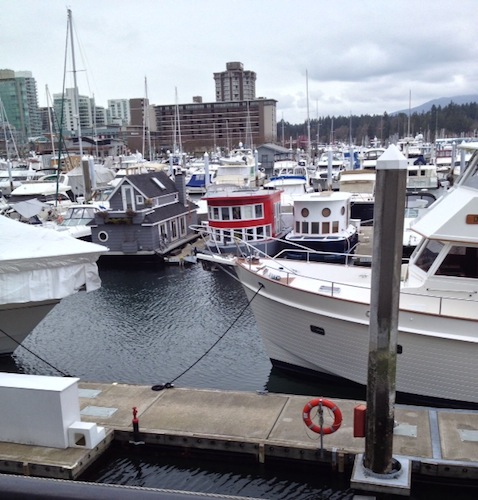
Just around the corner from The LightShed. Now I want to move to Vancouver and live in a tiny converted ferryboat.
Just a few minutes’ walk beyond my future ferryboat home is the Devonian Harbour Park, with off-leash access (rules in the next picture). It looks a little bleak in this picture, but it’s not, in real life.
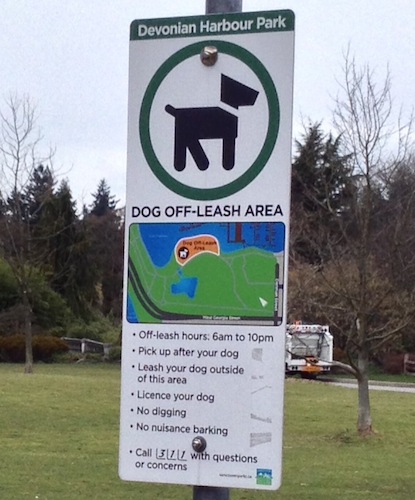
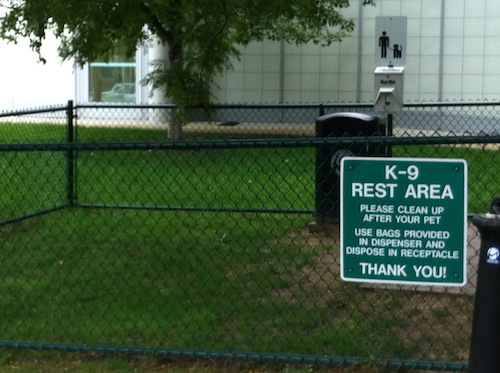
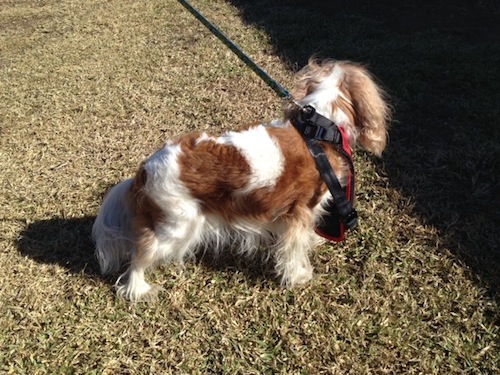
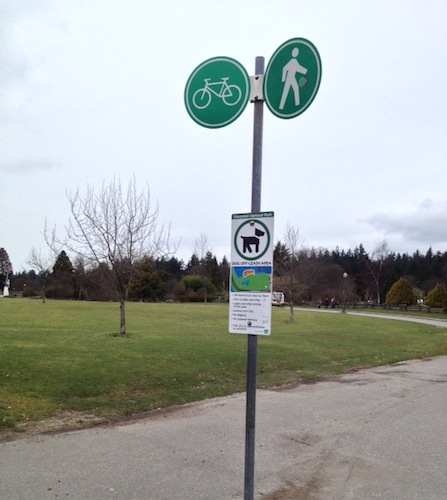
Let your pup run her extra energy off here, before heading into Stanley Park — at the entrance to the park, you’ll see signs telling you to keep your pup leashed, for the sake of the wildlife.
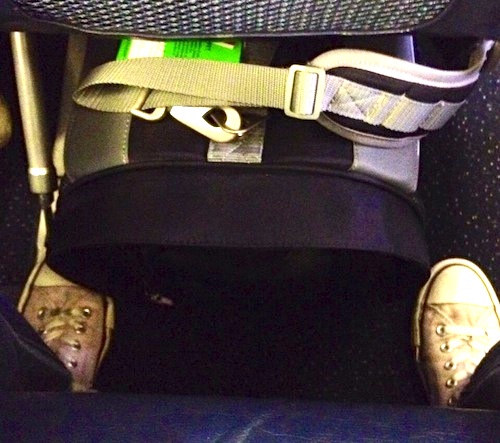
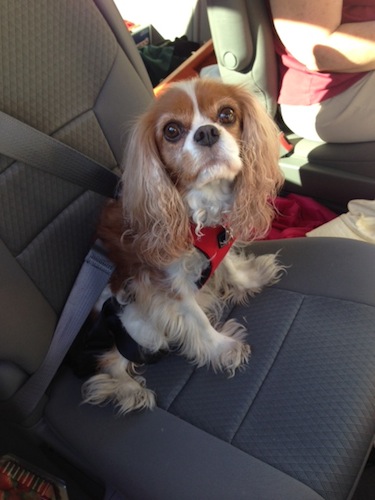
By the time we reached the park, I was ready to head back to the hotel for lunch and a nap, and I was ready to do it by bus (a sore disappointment to Chloe, who could happily have continued). Vancouver allows small pets in carriers on all of its public transit options except HandyDART, and we’d set off with Chloe’s messenger bag over my shoulder. I’d also equipped myself with a packet of 10 Faresaver tickets ($21 for Zone 1, which covers most areas you’d want to reach during a short visit). You can find the packets at newsstands — the third one I tried, a kiosk in the Waterfront station on Water St., had them in stock (be sure to ask, too, for a metro transit map). Each ticket, therefore, costs $2.10, but they last for an hour and a half after they’re first validated, so you can take a couple of trips on each. Tear out a ticket, and validate it in the machine by the conductor as you board.
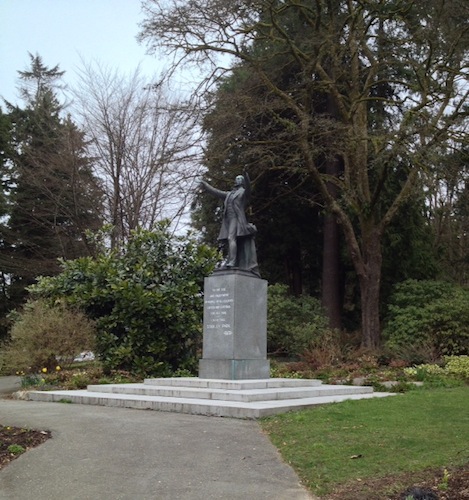
To find the #19 bus, you’ll need to leave the waterfront and head into the park — the Lord Stanley monument is a good landmark to look for.
One end of the #19 bus route [PDF] is a convenient spot in Stanley Park, about 200 metres north of the Lord Stanley monument. Walking north (past the statue’s coattails), you’ll see the Stanley Park Pavilion — continue past it (we ended up walking through its parking lot) and you’ll soon come to the bus stop. Here’s a detailed map of the park [PDF]. The #19 heads out of the park on Georgia St., and then angles left on Pender St. We hopped off at Howe to return to the conference center, but the route continues to Chinatown, turning right (south) on Main Street, and next time we’ll stay on to investigate that neighborhood. (It’s tricky to tell from the little transit map, but #19 continues far to the south and east, ending up at the Metrotown station.) We’ll also take the bus in the other direction, into Stanley Park, saving our energy for a walk around its edge.
For other posts about traveling with dogs on public transit, take a look at Dog Jaunt’s handy guide!